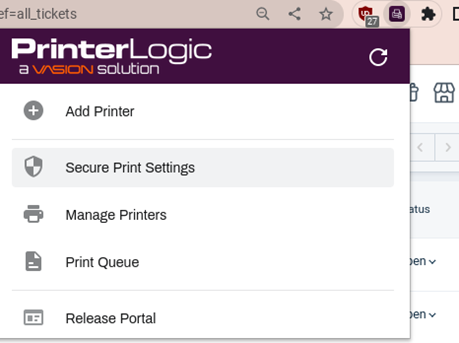
Step 1: Open the Printer Logic Extension on your Chromebook, it will be next to puzzle piece or appear in a list when you click on the puzzle piece
Step 2: Click “Add Printer” at the top of the PrinterLogic dropdown menu
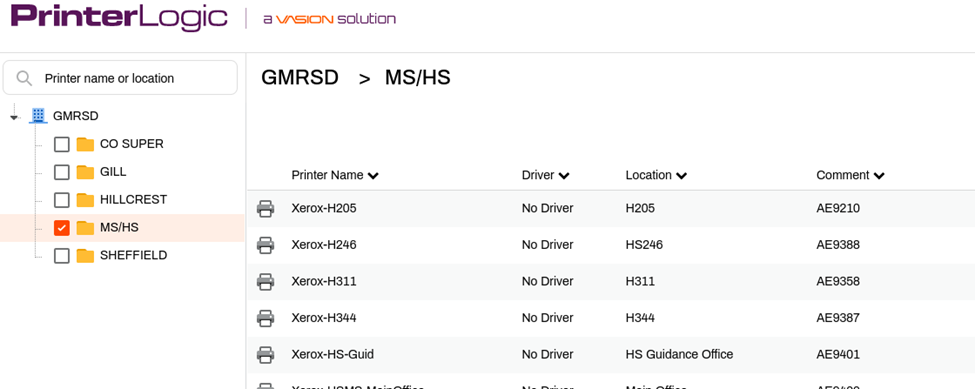
Step 3: Click on the school you want to print to on the left side of the page that comes up and select whatever copier you want to install (ex MS/HS and the one in H205)
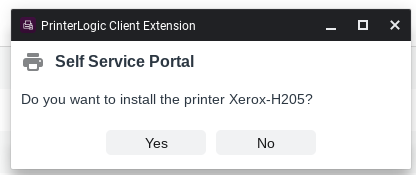
Step 4: A small box will appear, asking if you want
to install that copier, click yes
Note: The box may appear behind the webpage, if you don’t see it after clicking, try minimizing windows until you get back to the desktop and you may find it there.
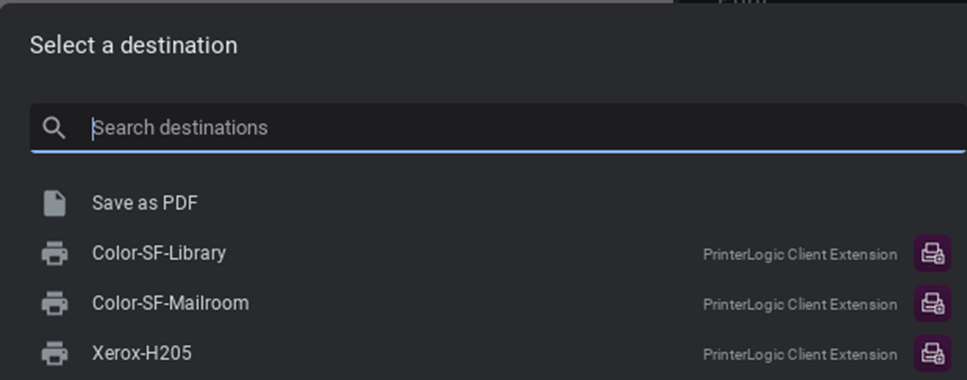
Step 5: When you print for the first time, click “See More” to bring up the full list of printers
Note: Chromebooks remember the last three printers printed to in the dropdown menu, you will need to click “see more” whenever you add a new printer or want to use more than three.
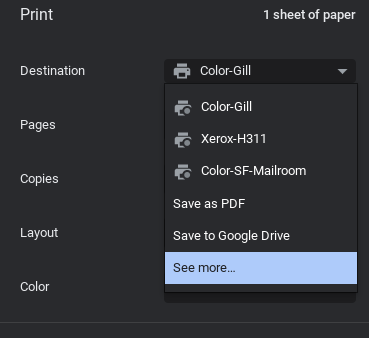
Step 6: Click on the printer you installed from the full list
Was this article helpful?
That’s Great!
Thank you for your feedback
Sorry! We couldn't be helpful
Thank you for your feedback
Feedback sent
We appreciate your effort and will try to fix the article